
Championship Course
Course Overview

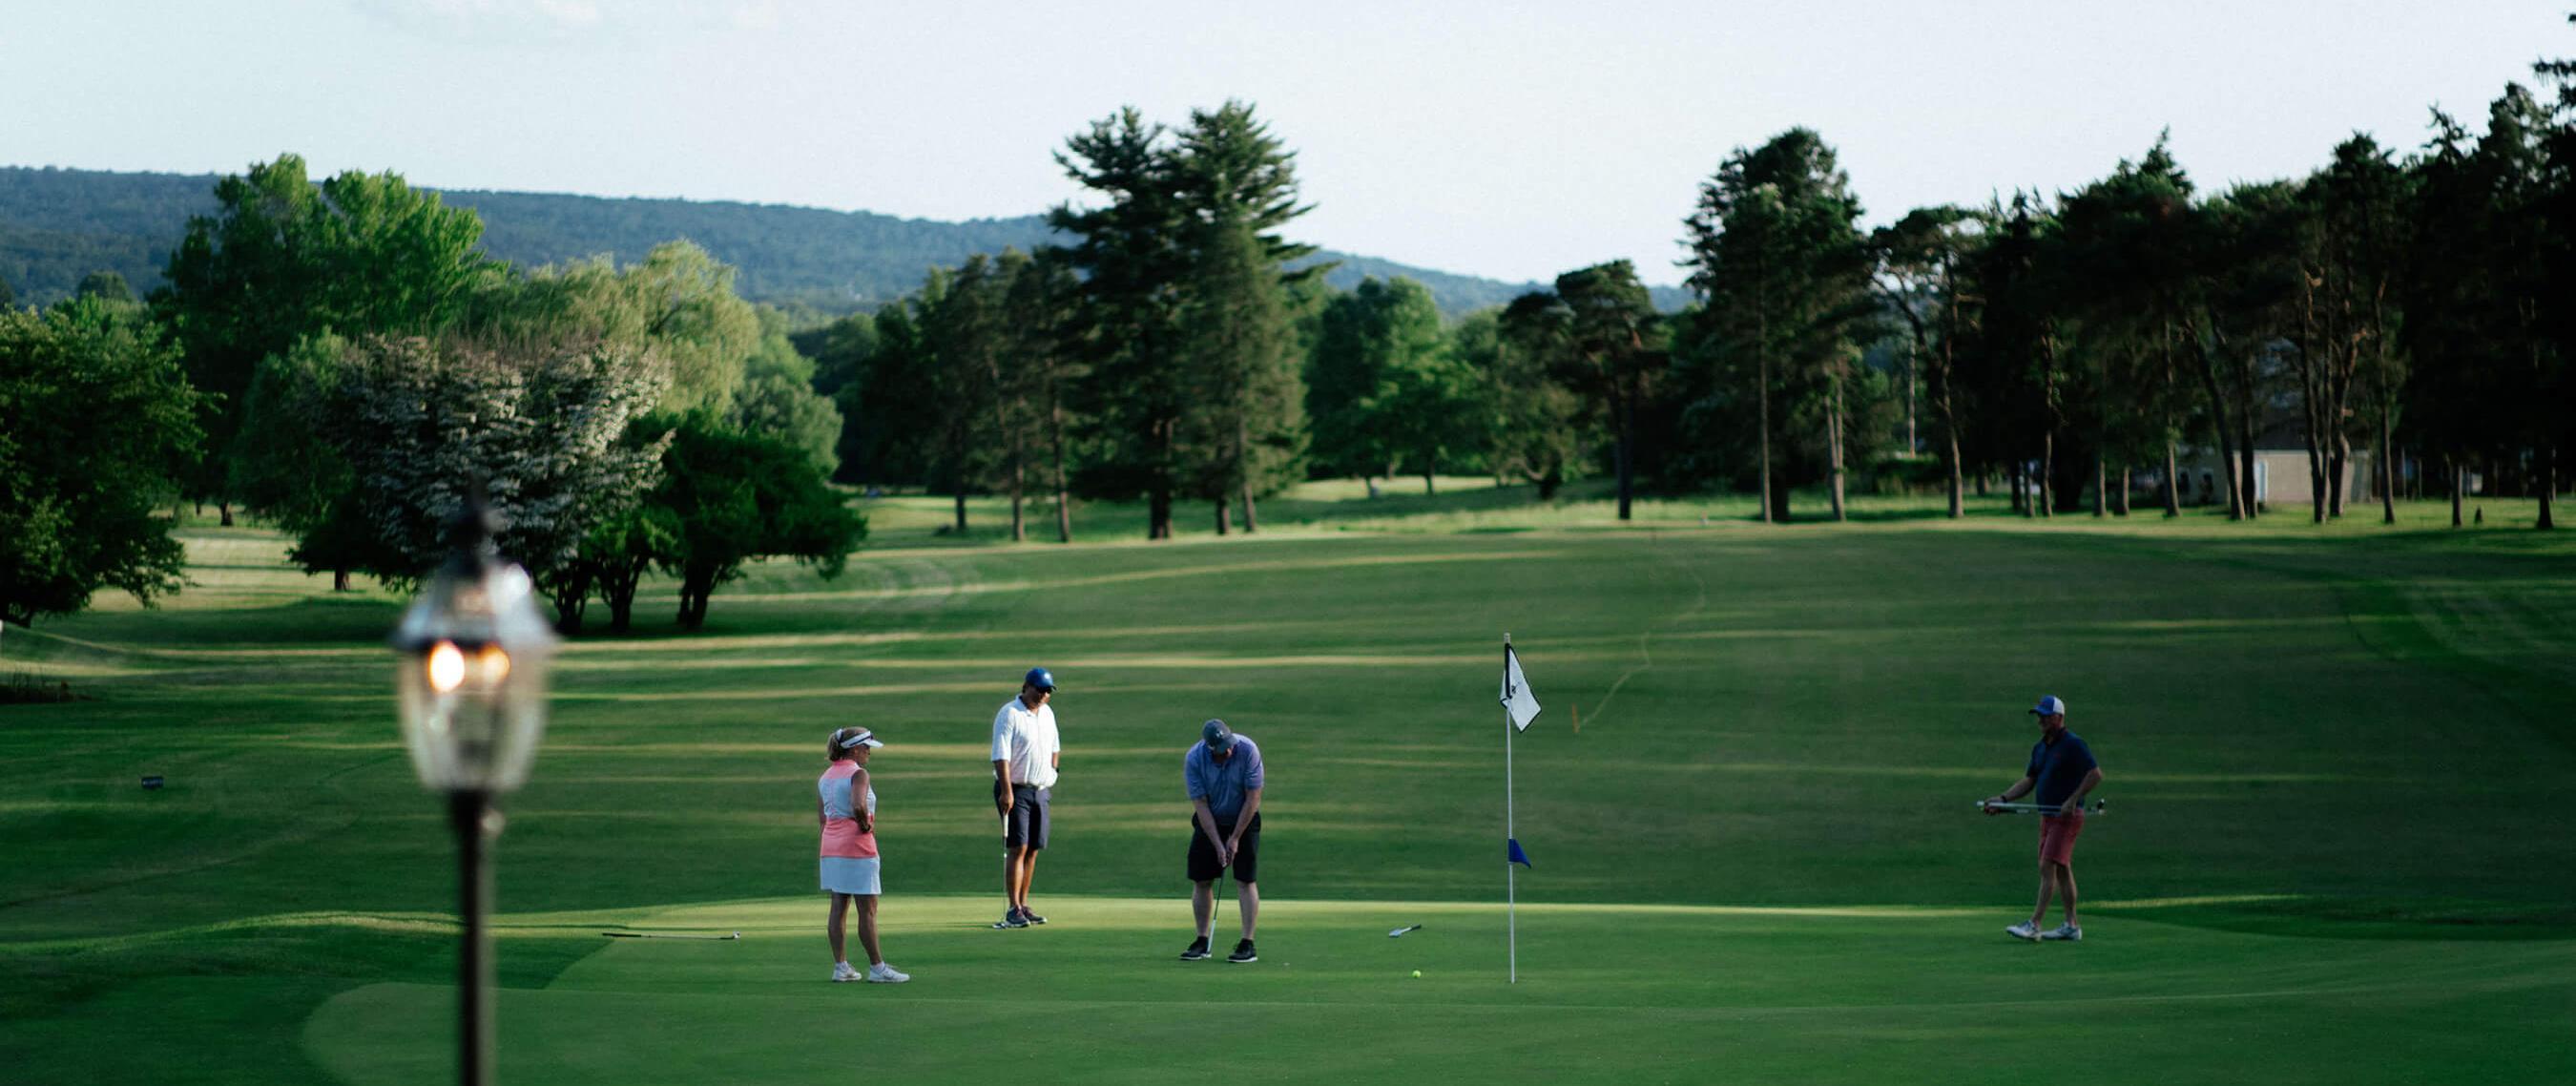
Nestled in the hills of Saucon Valley, Steel Club features 27 holes and newly designed practice areas including TrackMan Range. This Donald Ross masterpiece offers impeccable course conditions. With various tee choices, golfers of all skill levels can enjoy the course that has hosted multiple U.S. Junior Girls’ Championship Qualifiers and U.S. Open Local Qualifiers.
| Tee | Par | Yardage | Handicap | Slope |
|---|---|---|---|---|
 Silver Silver
|
72 | 6986 | 74 | 135 |
 Blue Blue
|
72 | 6655 | 72.5 | 132 |
 White White
|
72 | 6391 | 71.3 | 129 |
|
White / Gold 1
|
72 | 6094 | 69.9 | 127 |
|
White / Gold 2
|
72 | 5823 | 68.6 | 125 |
 Gold Gold
|
72 | 5476 | 66.7 | 119 |
| Tee | Par | Yardage | Rating | Slope |
|---|---|---|---|---|
 Red Red
|
72 | 5207 | 70.5 | 121 |
Hole 1
How To Play
A very demanding starting hole which challenges any player right away. The left rough, tree line and bunker must be avoided at all cost however the left side needs to be challenged since the fairway slopes from left to right. Challenging the left side will provide the best angle into this difficult green complex. The green is open in front, however missing the green to either side leaves the player with a difficult up and down. The green slopes severely left to right and back to front; plan accordingly for an approach shot or chip shot.
| Tee | Par | Yardage | Handicap |
|---|---|---|---|
 Silver Silver
|
4 | 444 | 1 |
 Blue Blue
|
4 | 410 | 1 |
 White White
|
4 | 403 | 1 |
|
White / Gold 1
|
4 | 327 | 1 |
|
White / Gold 2
|
4 | 327 | 1 |
 Gold Gold
|
4 | 327 | 1 |
| Tee | Par | Yardage | Rating |
|---|---|---|---|
 Red Red
|
4 | 270 | 7 |
Hole 2
How To Play
This is the classic risk reward hole. The down hill par 4 will temp you with the driver almost begging the player to fit their tee ball between the front two bunkers that give way to a narrow green. Pin location should help a player select their tee shot. The green usually plays firm, so leaving less that a full shot will provide a challenge for any player to hold their second shot since most lies are downhill and below the feet. To find a flat spot in the fairway, plan to hit a tee shot that will leave you 75-90 yards into the green. This is a great hole that challenges a player to commit to their shot selection. Making a birdie to a double can happen in an instant so have a plan.
| Tee | Par | Yardage | Handicap |
|---|---|---|---|
|
Silver
|
4 | 303 | 15 |
|
Blue
|
4 | 303 | 15 |
|
White
|
4 | 286 | 15 |
|
White / Gold 1
|
4 | 286 | 15 |
|
White / Gold 2
|
4 | 286 | 15 |
|
Gold
|
4 | 240 | 15 |
| Tee | Par | Yardage | Rating |
|---|---|---|---|
|
Red
|
4 | 236 | 13 |
Hole 3
How To Play
A medium length par 4 that requires a strategic tee shot. A large tree at the dogleg, two bunkers left and one bunker right along with OB left will cause doubt in all players. The fairway slopes gently left to right but doglegs slightly the other way. The best play from the tee is placing your drive down the right center of the fairway 20-30 yards past the tree for a 150 yard shot to the green. The second shot plays about a half to full club longer because of the uphill slope to the green. The green slopes from back to front with bunkers guarding either side of green. It is best to leave your approach below the hole especially if the pin is in the front or back part of the green.
| Tee | Par | Yardage | Handicap |
|---|---|---|---|
|
Silver
|
4 | 387 | 5 |
|
Blue
|
4 | 387 | 5 |
|
White
|
4 | 379 | 5 |
|
White / Gold 1
|
4 | 379 | 5 |
|
White / Gold 2
|
4 | 379 | 5 |
|
Gold
|
4 | 330 | 5 |
| Tee | Par | Yardage | Rating |
|---|---|---|---|
|
Red
|
4 | 326 | 3 |
Hole 4
How To Play
Long par 3 that plays shorter than the yardage because of the change of elevation. Shots played short of the green will usually roll or bounce on unless the approach is soft. One bunker placed left of the green can come into play. There is not much perceived trouble around the green from the tee; however, chip shots from right and left of the green are usually difficult to get close. The green slopes from back to front and off of the left bunker making putts from behind the hole rather quick.
| Tee | Par | Yardage | Handicap |
|---|---|---|---|
|
Silver
|
3 | 200 | 17 |
|
Blue
|
3 | 193 | 17 |
|
White
|
3 | 183 | 17 |
|
White / Gold 1
|
3 | 183 | 17 |
|
White / Gold 2
|
3 | 183 | 17 |
|
Gold
|
3 | 162 | 17 |
| Tee | Par | Yardage | Rating |
|---|---|---|---|
|
Red
|
3 | 159 | 17 |
Hole 5
How To Play
This slightly uphill par 5 is reachable in two for those long hitters. A properly placed tee shot will give a player the choice to go for it. If a players distance is too great for reaching in two, choose your lay up yardage properly. The green is long and narrow from front to middle and expands to the right towards the back. Bunkers guard each side leaving the front open to attack, but missing right or left leave for a tricky up and down. An approach shot selected carefully will give a player the best opportunity to make a birdie.
| Tee | Par | Yardage | Handicap |
|---|---|---|---|
|
Silver
|
5 | 558 | 13 |
|
Blue
|
5 | 525 | 13 |
|
White
|
5 | 513 | 13 |
|
White / Gold 1
|
5 | 513 | 13 |
|
White / Gold 2
|
3 | 437 | 13 |
|
Gold
|
5 | 437 | 13 |
| Tee | Par | Yardage | Rating |
|---|---|---|---|
|
Red
|
5 | 433 | 9 |
Hole 6
How To Play
A solid drive will allow the player to use the down slope of the fairway to increase their overall drive distance but this limits the overall width of the fairway. Players choosing to lay back will be left with a distance of 170 to the green which is slightly down hill. The approach shot usually plays a club shorter, with a fairly long green, guarded with bunkers right and left of the green. Another bunker placed 50 yards short and right of the green is placed strategically for tee shots that end up in the right trees. When playing from the right trees club selection and knowledge of this bunker is important. The green has a fair amount of slope back to front; a shot in the middle of the green is a good spot to putt from for any pin location.
| Tee | Par | Yardage | Handicap |
|---|---|---|---|
|
Silver
|
4 | 441 | 9 |
|
Blue
|
4 | 423 | 9 |
|
White
|
4 | 403 | 9 |
|
White / Gold 1
|
4 | 403 | 9 |
|
White / Gold 2
|
4 | 403 | 9 |
|
Gold
|
4 | 385 | 9 |
| Tee | Par | Yardage | Rating |
|---|---|---|---|
|
Red
|
4 | 377 | 1 |
Hole 7
How To Play
A well placed tee shot is a must and will leave a short iron uphill to the one of the most undulating greens on the course. The green is not extremely deep, however it has three separate ""tiers"" to it, so hitting your approach shot to the correct tier is extremely important. Make sure when playing the 4th hole that you look over to see this pin location. The green is guarded by a deep bunker on the left and another front right. If you happen to be on the wrong tier take your time in order to see all the different breaks and hopefully if putting down to the lower tier you can keep the ball on the green.
| Tee | Par | Yardage | Handicap |
|---|---|---|---|
|
Silver
|
4 | 410 | 3 |
|
Blue
|
4 | 380 | 3 |
|
White
|
4 | 340 | 3 |
|
White / Gold 1
|
4 | 285 | 3 |
|
White / Gold 2
|
4 | 285 | 3 |
|
Gold
|
4 | 285 | 3 |
| Tee | Par | Yardage | Rating |
|---|---|---|---|
|
Red
|
4 | 280 | 5 |
Hole 8
How To Play
A visually intimidating hole. Club selection and commitment to your shot is a must. Knowing the wind direction is very important, as it tends to swirl around this hole. From the white tee, a shot of 150 yards will carry the pond and reach the front collar or the green surface. If you hit too much club and go over the green, you will be faced with a difficult chip shot with the green sloping away from you. Aim for the middle of the green to avoid the bunkers on the right and left sides of the green, make your par and move on.
| Tee | Par | Yardage | Handicap |
|---|---|---|---|
|
Silver
|
3 | 181 | 11 |
|
Blue
|
3 | 181 | 11 |
|
White
|
3 | 160 | 11 |
|
White / Gold 1
|
3 | 160 | 11 |
|
White / Gold 2
|
3 | 125 | 11 |
|
Gold
|
3 | 125 | 11 |
| Tee | Par | Yardage | Rating |
|---|---|---|---|
|
Red
|
3 | 122 | 15 |
Hole 9
How To Play
A demanding tee shot because of a large tree on the right, which tightens the fairway at the corner of the dogleg. The second shot requires some precision as well, as fairway bunkers on both sides of the fairway will come into play some 160 yards from the green. Favor the left side of the fairway on your second shot to give yourself the best angle to approach the green. The approach shot should be played with the thought of placing the ball on the proper part of the green. A bunker left and front right of the green make chipping close to the hole difficult.
| Tee | Par | Yardage | Handicap |
|---|---|---|---|
|
Silver
|
5 | 557 | 7 |
|
Blue
|
5 | 530 | 7 |
|
White
|
5 | 521 | 7 |
|
White / Gold 1
|
5 | 521 | 7 |
|
White / Gold 2
|
5 | 492 | 7 |
|
Gold
|
5 | 492 | 7 |
| Tee | Par | Yardage | Rating |
|---|---|---|---|
|
Red
|
5 | 426 | 11 |
Hole 10
How To Play
Dogleg left par 4 with a partially blind landing area. Use the inside of the right fairway bunker as your target. Challenging the left side of the fairway could result in your tee shot finding the left fairway bunker or being blocked out by trees. Any tee shot hit through the dogleg can potentially be blocked out by trees that are strategically placed in the right rough. The downhill approach shot plays shorter than the distance. The green is one of the most severely sloped from back to front, with many pin locations, so your approach shot must be taken with placement in mind.
| Tee | Par | Yardage | Handicap |
|---|---|---|---|
|
Silver
|
4 | 428 | 8 |
|
Blue
|
4 | 406 | 8 |
|
White
|
4 | 395 | 8 |
|
White / Gold 1
|
4 | 395 | 8 |
|
White / Gold 2
|
4 | 395 | 8 |
|
Gold
|
4 | 348 | 8 |
| Tee | Par | Yardage | Rating |
|---|---|---|---|
|
Red
|
4 | 340 | 10 |
Hole 11
How To Play
This par 4 doglegs left almost 90 degrees. A safely played tee shot will leave you in the right center of the fairway with a short iron into the green. The green is gaurded by a bunker on the right and left side. The second shot is straight forward, but given that the green is extremely deep and undulating, proper club selection and using the natural slopes of the green need to be considered to get close to the pin.
| Tee | Par | Yardage | Handicap |
|---|---|---|---|
|
Silver
|
4 | 410 | 6 |
|
Blue
|
4 | 361 | 6 |
|
White
|
4 | 352 | 6 |
|
White / Gold 1
|
4 | 299 | 6 |
|
White / Gold 2
|
4 | 299 | 6 |
|
Gold
|
4 | 299 | 6 |
| Tee | Par | Yardage | Rating |
|---|---|---|---|
|
Red
|
4 | 291 | 6 |
Hole 12
How To Play
A very demanding tee shot through the "chute". The hole doglegs right with the fairway sloping hard right to left. Hitting a fade is ideal to keep the ball in the fairway. An accurate tee shot will lead to a pretty straight forward second shot into a relitively flat green. Short and right is good miss, with a bunker protecting the front left portion of the green.
| Tee | Par | Yardage | Handicap |
|---|---|---|---|
|
Silver
|
4 | 367 | 10 |
|
Blue
|
4 | 367 | 10 |
|
White
|
4 | 349 | 10 |
|
White / Gold 1
|
4 | 349 | 10 |
|
White / Gold 2
|
4 | 349 | 10 |
|
Gold
|
4 | 275 | 10 |
| Tee | Par | Yardage | Rating |
|---|---|---|---|
|
Red
|
4 | 272 | 12 |
Hole 13
How To Play
A ""hidden"" creek flowing 20 yards short of the green should not be a factor. The tee shot plays slightly shorter than the yardage. Misplayed shots left or right may easily catch the creek that bends in a half circle through the hole. The large green slopes back to front with a large hump in the back center of the green. Any tee shot hit to the center of the green should be considered well executed.
| Tee | Par | Yardage | Handicap |
|---|---|---|---|
|
Silver
|
3 | 194 | 16 |
|
Blue
|
3 | 194 | 16 |
|
White
|
3 | 173 | 16 |
|
White / Gold 1
|
3 | 173 | 16 |
|
White / Gold 2
|
3 | 120 | 16 |
|
Gold
|
3 | 120 | 16 |
| Tee | Par | Yardage | Rating |
|---|---|---|---|
|
Red
|
3 | 115 | 18 |
Hole 14
How To Play
Players should avoid the right fairway bunkers at all cost with their drive. Your second shot will need to be placed precisely between fairway bunkers on each side of the hole approximately 125 -150 yards from the green. Keep the pin location in mind when hitting your seocnd shot to give yourself the best angle to attack the pin with your third. A bunker front left and two bunkers on the right protect this green and make a missed third shot a difficult up and down. The front half of the green slopes hard from back to front, and a large hump in the back of the green can make for hard breaking putts. Keep the ball below the hole.
| Tee | Par | Yardage | Handicap |
|---|---|---|---|
|
Silver
|
5 | 520 | 14 |
|
Blue
|
5 | 520 | 14 |
|
White
|
5 | 513 | 14 |
|
White / Gold 1
|
5 | 513 | 14 |
|
White / Gold 2
|
5 | 435 | 14 |
|
Gold
|
5 | 435 | 14 |
| Tee | Par | Yardage | Rating |
|---|---|---|---|
|
Red
|
5 | 431 | 4 |
Hole 15
How To Play
This reachable par 5 has a wide fairway, but trees left and a creek on the right can catch an errant tee shot. A creek 15-20 yards short of the green can make for a difficult decision on your second shot. If you choose to lay up you will need to avoid two bunkers on the left side of the fairway, but playing to safe to the right can cause you to be blocked out by a tree right of the green. The green has a false front, but is one of the flatest on the course.
| Tee | Par | Yardage | Handicap |
|---|---|---|---|
|
Silver
|
5 | 489 | 18 |
|
Blue
|
5 | 489 | 18 |
|
White
|
5 | 460 | 18 |
|
White / Gold 1
|
5 | 460 | 18 |
|
White / Gold 2
|
5 | 460 | 18 |
|
Gold
|
5 | 412 | 18 |
| Tee | Par | Yardage | Rating |
|---|---|---|---|
|
Red
|
5 | 409 | 8 |
Hole 16
How To Play
The tee shot plays slightly longer than the yardage on this uphill par 3. There is a bunker on the right and mounds left of this challenging green. The green is very deep and slopes back to front, with a ridge running horizontally through the middle. Keep your tee shot short of the pin. Par is a great score.
| Tee | Par | Yardage | Handicap |
|---|---|---|---|
|
Silver
|
3 | 235 | 12 |
|
Blue
|
3 | 185 | 12 |
|
White
|
3 | 179 | 12 |
|
White / Gold 1
|
3 | 179 | 12 |
|
White / Gold 2
|
3 | 179 | 12 |
|
Gold
|
3 | 135 | 12 |
| Tee | Par | Yardage | Rating |
|---|---|---|---|
|
Red
|
3 | 130 | 16 |
Hole 17
How To Play
A par 4 with a slight dogleg right calls for a well placed drive. Longer hitters can opt to carry a tree at the corner to cut off some distance, but a tee shot up the left side of the fairway is ideal for your approach. With the green angling from left to right around a deep bunker that fronts the green, and undulation with the left side having a large shelf with a severe slope surrounding it, the second shot must be precise. The back half of the green slopes from the front and any shot rolling quickly will roll off the back of the green.
| Tee | Par | Yardage | Handicap |
|---|---|---|---|
|
Silver
|
4 | 395 | 4 |
|
Blue
|
4 | 380 | 4 |
|
White
|
4 | 372 | 4 |
|
White / Gold 1
|
4 | 327 | 4 |
|
White / Gold 2
|
4 | 327 | 4 |
|
Gold
|
4 | 327 | 4 |
| Tee | Par | Yardage | Rating |
|---|---|---|---|
|
Red
|
4 | 320 | 2 |
Hole 18
How To Play
This par 4 will test your ability to finish the round. A creek running along the right side of the fairway for the first 250 yards and a group of trees beyond that, will make you want to aim left. However, playing down the left side of the fairway will result into a longer second shot played to a narrow opening between two greenside bunkers which pinches the front half of the green. The green itself has two distinct tiers with a severe slope separating them. If your ball is on the incorrect tier, 2 putting will be difficult.
| Tee | Par | Yardage | Handicap |
|---|---|---|---|
|
Silver
|
4 | 467 | 2 |
|
Blue
|
4 | 421 | 2 |
|
White
|
4 | 410 | 2 |
|
White / Gold 1
|
4 | 342 | 2 |
|
White / Gold 2
|
4 | 342 | 2 |
|
Gold
|
4 | 342 | 2 |
| Tee | Par | Yardage | Rating |
|---|---|---|---|
|
Red
|
4 | 270 | 14 |